Example: Adding a Linux target system
This section shows you the typical procedure for adding a Linux target system, using the Linux SSH connector to list accounts and synchronize passwords.
Requirements
This example assumes that:
Another target system has been added as a source of profiles, as in the Active Directory example.
The Python packages required by the
agtlinux_ngconnector are installed, following the instructions below.
Install Python prerequisite
The agtlinux_ng connector used for Linux target systems requires several Python packages, including fabric, to establish SSH connections. Install these packages before adding the LINUX target system.
Open the Command Prompt as Administrator.
Navigate to the
<Program Files path>\Bravura Security\Bravura Security Fabric\<instance>\agent\directory.Run the following command:
py -m pip install -r agtlinux_ng_requirements.txt
Note
If you do not run this command from an elevated command prompt, pip may silently install the packages into a per-user location that the connector cannot access, without returning an error.
Verify that the packages installed to the correct location:
py -m pip show fabric
Confirm that
Location:points to the Python installation directory (for example,C:\Program Files\Python314\Lib\site-packages), not a location under a user profile.
Add the target system
To add the Linux target system:
Log in to the Bravura Security Fabric Front-end (PSF) as superuser.
Click Manage the system > Resources > Target systems > Manually defined.
Click Add new…
Enter the following information:
ID LINUX
Type Generic Linux Server (SSH)
Description Linux Lab Server
Click Change to the right of the Address field.
Enter your Linux server IP address in the Server field.
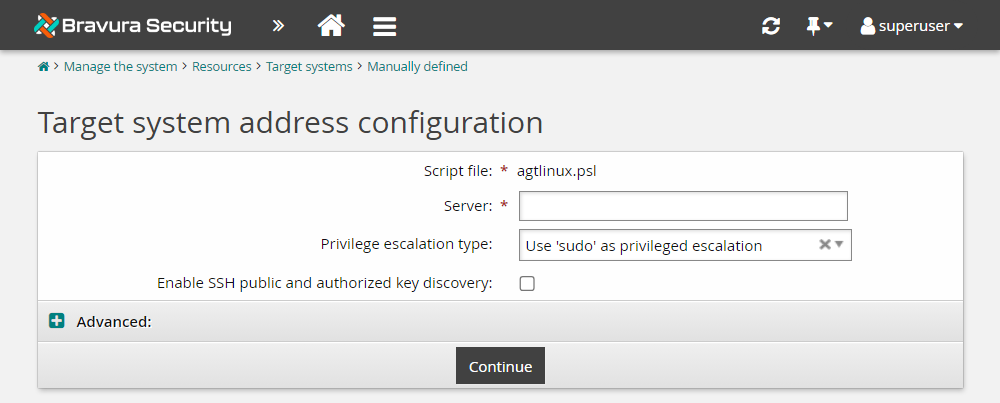
Leave other fields set to their default.
Click Continue to return to the page.
Note
Do not select the Source of profile IDs option for this target.
Scroll to the bottom of the page and click Add.
The page will be displayed.
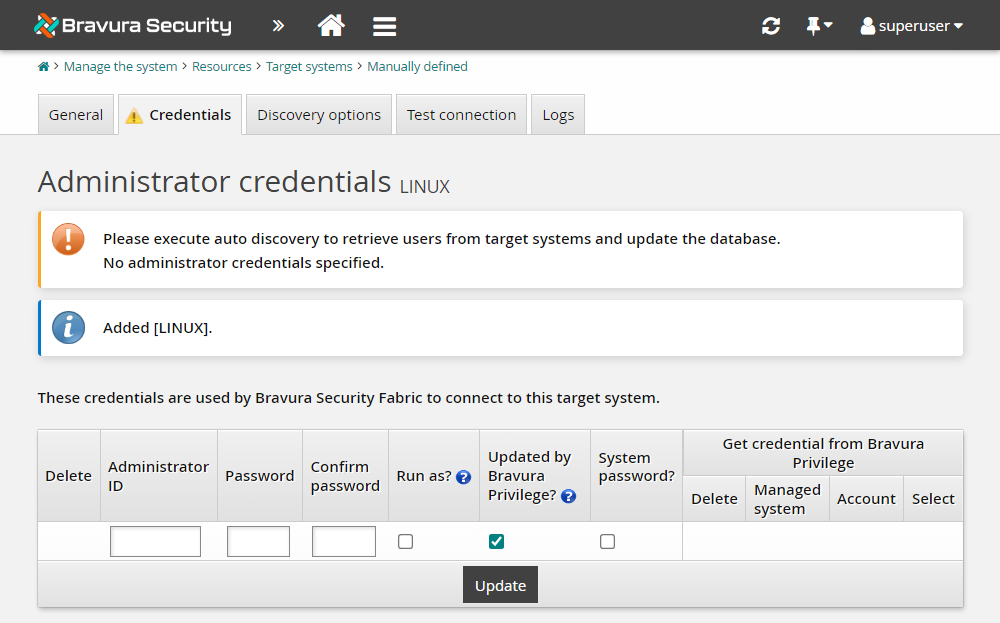
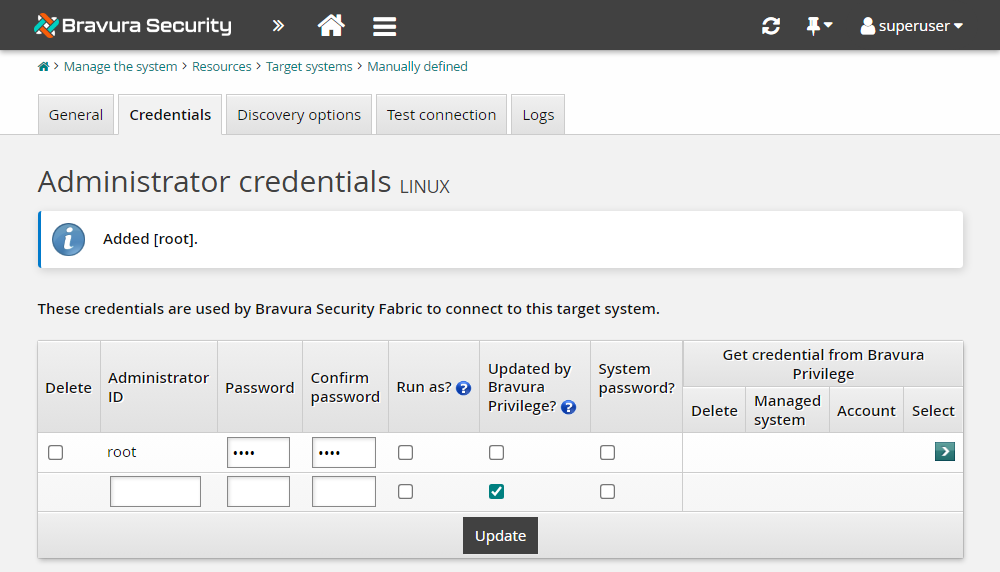
Enter and confirm the Administrator ID and Password.
Deselect Updated by Bravura Privilege?
Click OK to confirm the action.
Click Update.
Click the Test connection tab.
Click Test credentials and test that the credentials work.
The Results column should show "Success".
Click Test list, click Refresh then click Show users to see the list of users.
Run auto-discovery for the LINUX target, similar to Targeting Active Directory, to load accounts and information.
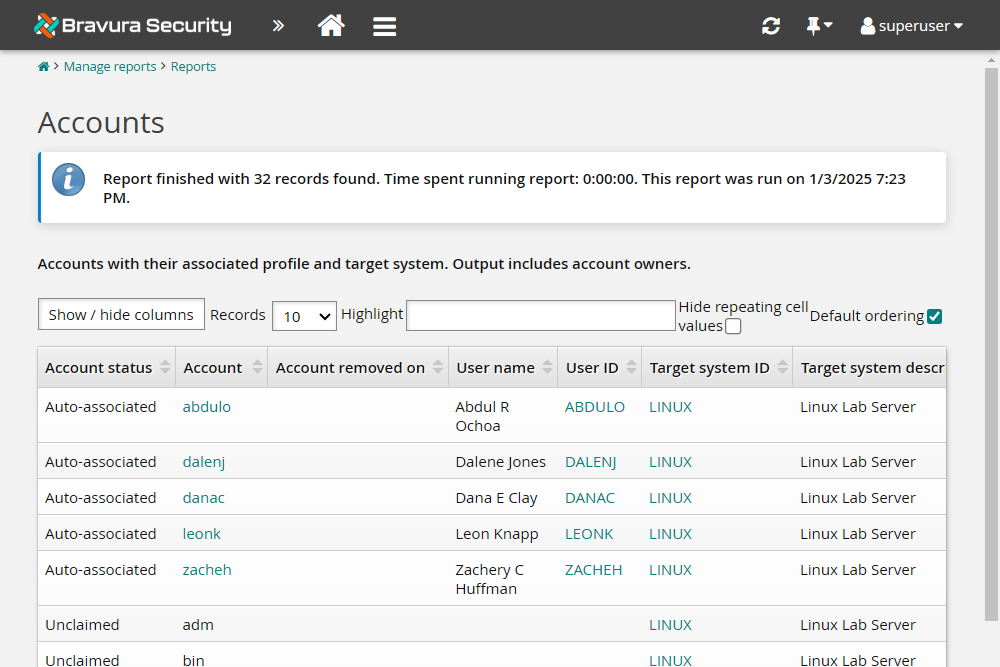
Verify auto-discovery of accounts by running a user accounts report for the LINUX target.
Tip
When you run the accounts report, set the Target system ID to LINUX in Search criteria before clicking Run.
In this case, because you did not select Source of Profile IDs on the Target system information page, the accounts have been loaded, but only accounts with short IDs that match existing Profile IDs show up as "Auto-associated". The rest of the Account status' appear "Unclaimed" because they do not match any existing Bravura Security Fabric user profiles.